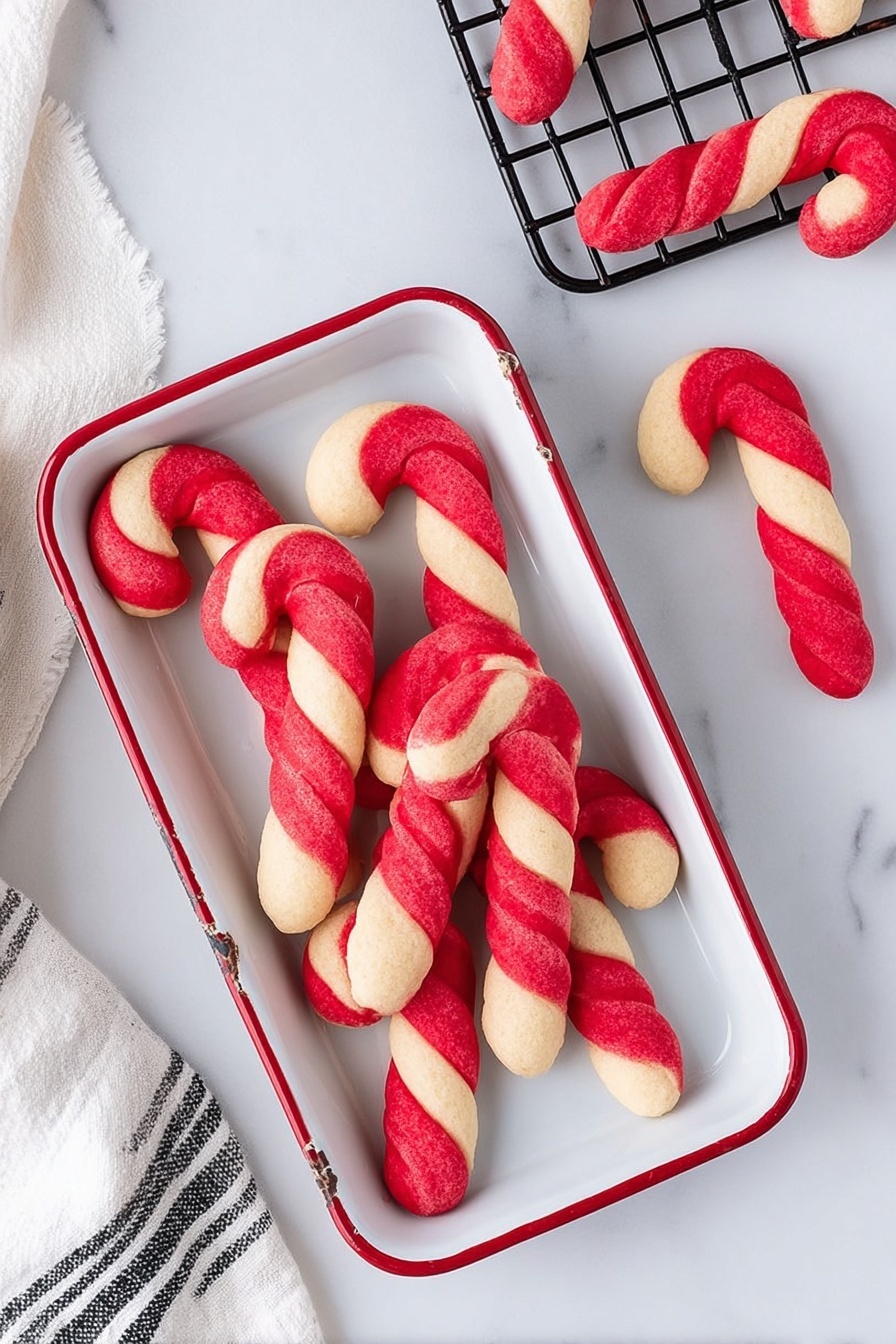
There’s something truly magical about the holidays, and these Candy Cane Cookies with Peppermint Flavor Recipe capture that festive feeling with every bite. Crunchy, minty, and perfectly swirled in classic red and white, these cookies don’t just taste amazing — they bring out the kid in all of us!

Jump to:
- Why You'll Love This Recipe
- Ingredients & Why They Work
- Make It Your Way
- Step-by-Step: How I Make Candy Cane Cookies with Peppermint Flavor Recipe
- Top Tip
- How to Serve Candy Cane Cookies with Peppermint Flavor Recipe
- Make Ahead and Storage
- Frequently Asked Questions:
- Final Thoughts
- Candy Cane Cookies with Peppermint Flavor Recipe
Why You'll Love This Recipe
Making these Candy Cane Cookies with Peppermint Flavor Recipe has become one of my favorite holiday traditions. I love how easy they are to whip up but still look so impressive on a cookie platter — you’ll feel like a pro baker, I promise.
- Perfect Peppermint Punch: The peppermint extract gives these cookies a refreshing, unmistakable holiday flavor that lights up your taste buds without being overpowering.
- Fun and Festive Design: The classic red-and-white twist captures the iconic candy cane look, making them lovely as gifts or festive treats.
- Simple Ingredients & Steps: With pantry staples and easy instructions, this recipe is accessible even for beginners.
- Versatile for Customization: You can tweak the flavor or colors, making this recipe a joyful canvas for your own holiday creativity.
Ingredients & Why They Work
Every ingredient in this Candy Cane Cookies with Peppermint Flavor Recipe plays a special role — from that creamy butter to the peppermint extract. Here’s a quick rundown on why each one counts and what to look for when shopping.
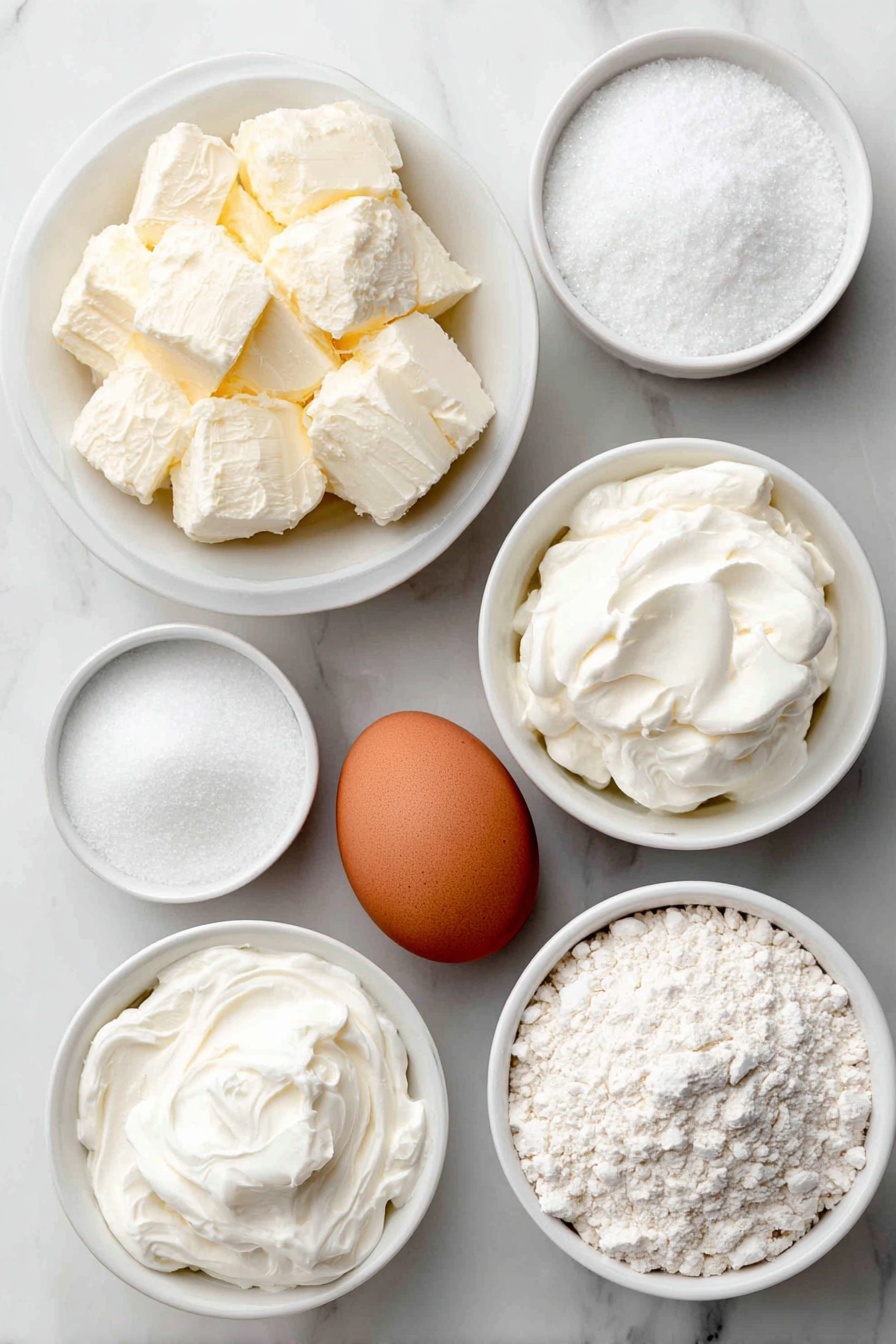
- Unsalted butter: Using softened unsalted butter ensures the cookie dough comes together smoothly and lets you control the saltiness in the recipe.
- Granulated sugar: This sweetens and helps give those crisp edges we all love.
- Cream of tartar: A little magic that helps the cookies hold their texture, giving a slight tang and chewiness.
- Heavy cream: Adds richness and moisture for a tender crumb.
- Egg (room temperature): Acts as a binder and adds structure. Letting it come to room temp helps your dough mix smoothly.
- Pure peppermint extract: The star flavor of the show — don’t substitute with peppermint oil, as it can be overpowering.
- Clear vanilla flavoring: Enhances depth without changing the cookie color.
- Baking powder: A little lift to keep the cookies tender and not too dense.
- All-purpose flour: The foundation that gives the dough its body and structure.
- Red squeeze gel color: The intense red hue creates that vibrant, festive swirl without watering down the dough like liquid coloring might.
Make It Your Way
I love to switch things up a bit depending on the mood or occasion. This Candy Cane Cookies with Peppermint Flavor Recipe is like a blank canvas — play around with the peppermint level or even the colors to suit your vibe.
- Variation: One of my favorite twists is adding mini chocolate chips inside the dough before twisting. It adds a subtle chocolate surprise that pairs so nicely with peppermint!
- Dietary tweak: For a dairy-free version, swap butter for a plant-based alternative and heavy cream for coconut cream — though texture will vary slightly.
- Seasonal changes: Try green gel food coloring alongside red to make a fun two-tone peppermint swirl perfect for St. Patrick's Day or Christmas!
Step-by-Step: How I Make Candy Cane Cookies with Peppermint Flavor Recipe
Step 1: Creaming the Butter - The Foundation of Fluffy Cookies
Start by grabbing your stand mixer or a handheld mixer—either works! Beat the softened unsalted butter on medium-high speed for about 1½ to 2 minutes. You want it light and fluffy, almost like whipped cream. This step is key for that melt-in-your-mouth texture later on. Don’t rush it; the fluffier your butter, the better your cookies will be.
Step 2: Mixing in the Sugar and Cream of Tartar for that Perfect Texture
Turn your mixer down to low and add the granulated sugar, cream of tartar, and heavy cream. Then bump the speed back up to medium. Mix for 2 to 3 minutes until your mixture looks fluffy and airy. This combination assures your cookies have a tender crumb with just the right chew.
Step 3: Infusing the Peppermint and Vanilla Magic
With the mixer on low, add the egg next—make sure it’s at room temperature for smooth blending. Follow with the peppermint extract and clear vanilla flavoring. This is the step where your dough begins to come alive with that signature minty aroma. Be precise with peppermint – it can overpower quickly if you add too much, so stick to the recommended amount.
Step 4: Adding Dry Ingredients and Coloring the Dough
Add the baking powder and flour slowly, half a cup at a time, mixing just until the flour is fully incorporated and you see no streaks left. Dividing the dough into two balls now is crucial—one ball stays white, the other gets the red gel color mixed in gently on low speed. Chill both for an hour; this step helps the dough firm up so it keeps that candy cane shape when baked.
Step 5: Rolling & Twisting into Those Iconic Candy Cane Shapes
Use parchment paper on your work surface to avoid any red dye stains. Roll small balls of red and white dough into about 5-inch ropes. Keep your hands cool to avoid softening the dough too much—this helps keep the ropes firm and easy to twist. Twist the ropes gently together, keeping them rounded (don’t flatten!), then curl the top to make the classic candy cane hook. Pop them on a parchment-lined baking sheet with enough space to bake evenly.
Step 6: Baking & Cooling - The Final Countdown
Bake your candy cane cookies at 350°F for just 7 minutes—watch closely as ovens can vary, and you want sunny golden edges but not browned centers. Let them cool on the pan for 10 minutes before transferring to a wire rack. This rests the cookies so they firm up just right without breaking.
Top Tip
I’ve learned through many holiday baking sessions that patience is the real secret weapon for this Candy Cane Cookies with Peppermint Flavor Recipe. Taking time to chill dough and keep it cool while rolling can make all the difference between a messy blur and a picture-perfect candy cane.
- Chill, Chill, Chill: Don’t skip the refrigeration—it stops these cookies from spreading and losing their classic shape.
- Temperature Matters: Keeping your hands cool while rolling means the dough won't get too soft and you’ll get neat, tight twists.
- Watch Your Oven: Ovens vary, so start checking cookies around 6-7 minutes to avoid overbaking.
- Use Parchment Paper: A game-changer for cleanup and keeping your counter dye-free while rolling the red dough ropes!
How to Serve Candy Cane Cookies with Peppermint Flavor Recipe
Garnishes
I like to keep it classic with a light dusting of powdered sugar over these cookies — it gives a snowy winter feel. Sometimes I add a drizzle of melted white chocolate for extra sweetness and shimmer. It’s simple but makes the cookies look extra festive and inviting.
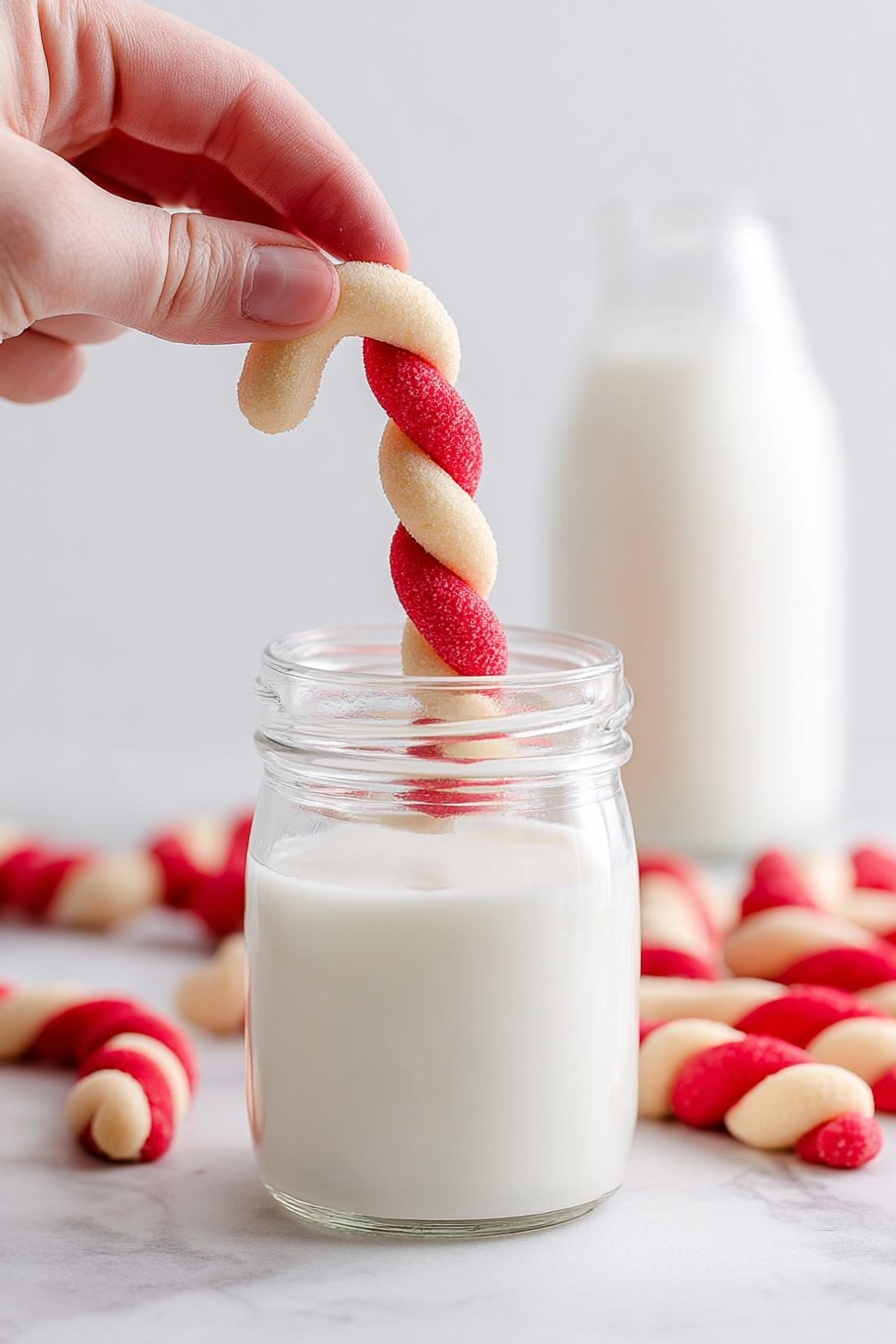
Side Dishes
These cookies shine alongside a cup of hot cocoa with marshmallows or a peppermint latte to keep the minty theme going. They also pair wonderfully with a cheese board featuring mild cheeses and fresh fruit for a fun holiday spread.
Creative Ways to Present
For parties, I like arranging my Candy Cane Cookies with Peppermint Flavor Recipe in a wreath shape on a decorative platter — it’s always a conversation starter. Wrapping a few in clear cellophane tied with red ribbon creates perfect homemade gifts that feel so personal and special.
Make Ahead and Storage
Storing Leftovers
I store leftover cookies in an airtight container at room temperature, layered with parchment paper so they don’t stick together. They stay wonderfully fresh for up to a week — perfect for snacking or last-minute hosting.
Freezing
You can freeze these cookies after baking by wrapping them in plastic wrap and placing them in a freezer bag. When ready, thaw at room temperature. The peppermint flavor holds up great, and the texture stays just right.
Reheating
If you want to refresh the cookies, a quick 5-7 seconds in the microwave or a few minutes in a low oven makes them feel freshly baked — just keep an eye to avoid drying them out.
Frequently Asked Questions:
Pure peppermint extract is preferred for this recipe because it provides a balanced, fresh flavor without overpowering the dough. Liquid peppermint extract or oils can be more potent and may alter the taste significantly. If using a substitute, add it sparingly and taste as you go.
Cream of tartar helps with the texture and stability of the cookies but if you don’t have it on hand, you can usually omit it or replace it with an equal amount of lemon juice or white vinegar. Just be aware that the texture might be slightly different, but the cookies will still taste delicious.
I always recommend covering your counter or board with parchment paper before rolling the red dough ropes. Wearing disposable gloves or chilling the dough a second time before rolling also helps reduce any red dye transfer. Avoid touching the dough with warm hands to keep it from getting too soft and sticky.
Absolutely! These cookies dough balls can be prepared and chilled for up to 3 days before baking. You can also bake the cookies and store them in an airtight container for a week or freeze them for longer storage, making them perfect for preparing in advance.
Final Thoughts
This Candy Cane Cookies with Peppermint Flavor Recipe holds a special spot in my heart — it’s the perfect blend of cozy nostalgia and holiday cheer. Baking these is more than just making cookies; it’s about slowing down, enjoying the process, and sharing joy with family or friends. I can’t wait for you to try making them and bring a little extra sparkle to your holiday season.
Print
Candy Cane Cookies with Peppermint Flavor Recipe
- Prep Time: 30 minutes
- Cook Time: 7 minutes
- Total Time: 1 hour 37 minutes
- Yield: 48 cookies
- Category: Dessert
- Method: Baking
- Cuisine: American
Description
Candy Cane Cookies are festive, peppermint-flavored sugar cookies twisted in red and white ropes to resemble classic candy canes. These soft, buttery cookies are perfect for holiday celebrations, combining a peppermint kick with a light vanilla base.
Ingredients
Cookie Dough
- 1 cup (2 sticks) unsalted butter softened
- 1½ cups granulated sugar
- ½ teaspoon cream of tartar
- 1 tablespoon heavy cream
- 1 large egg room temperature
- 1½ teaspoons pure peppermint extract
- 1¼ teaspoons clear vanilla flavoring
- ⅛ teaspoon baking powder
- 3 cups all-purpose flour
- ½ teaspoon red squeeze gel color
Instructions
- Cream Butter: Using a stand mixer or handheld mixer, beat the softened unsalted butter on medium-high speed for 1½ to 2 minutes until smooth.
- Add Sugar and Cream: Lower speed to low, add granulated sugar, cream of tartar, and heavy cream. Increase to medium speed and beat for 2 to 3 minutes until fluffy.
- Incorporate Egg: Reduce speed to low and add the egg. Mix until fully incorporated.
- Add Flavorings: Add peppermint extract and clear vanilla flavoring to the mixture and blend well.
- Add Dry Ingredients: On low speed, slowly add baking powder and flour ½ cup at a time, mixing only until flour is combined with no visible streaks.
- Divide Dough: Split dough into two equal balls. Place one ball in the mixing bowl to be colored red; cover and refrigerate the other ball for the white portion for 1 hour.
- Color Red Dough: Add red gel color to dough in bowl; mix on low speed until evenly colored. Place red dough in a medium bowl, cover, and refrigerate for 1 hour.
- Preheat Oven: Preheat oven to 350°F and line baking sheets with parchment paper.
- Prepare Dough for Shaping: Halve both red and white dough, leaving half refrigerated for later use.
- Roll Dough Balls: On a parchment-lined surface, scoop ½ tablespoon each of red and white dough and roll into tight, round balls. Chill for 10-15 minutes for best shape retention.
- Form Ropes: Roll each dough ball into 5-inch long ropes keeping hands cool to prevent dough softening.
- Twist Ropes: Press bottoms of red and white ropes together lightly, twist gently maintaining rounded shape without flattening.
- Shape Candy Canes: Place twisted ropes on prepared baking sheet spaced 2 inches apart and curve the tops to form cane crooks.
- Bake: Bake cookies for 7 minutes until set but not browned.
- Cool: Let cookies cool on baking sheet for 10 minutes before transferring to a wire rack.
- Repeat: Remove remaining dough from refrigerator and repeat shaping and baking steps.
- Store: Once fully cooled, store cookies in an airtight container to maintain freshness.
Notes
- Chilling dough is essential to minimize spreading and preserve candy cane shape during baking.
- Oven temperatures may vary; watch cookies closely near the end of baking time to prevent overbaking.
- Peppermint extract is key for authentic peppermint flavor; omit for plain sugar cookies.
- Cover counter or cutting board with parchment paper when rolling dough to avoid red dye stains.
- Keep hands cool while rolling dough ropes to maintain shape and prevent dough from becoming too soft.
- Maintain rounded shape during twisting; avoid flattening ropes to keep candy cane appearance authentic.
Nutrition
- Serving Size: 1 cookie
- Calories: 120 kcal
- Sugar: 9 g
- Sodium: 35 mg
- Fat: 7 g
- Saturated Fat: 4 g
- Unsaturated Fat: 3 g
- Trans Fat: 0 g
- Carbohydrates: 15 g
- Fiber: 0.5 g
- Protein: 1 g
- Cholesterol: 20 mg


Leave a Reply